Friday, February 28, 2014

Chewy Chocolate Cookies

Last week it was all cornbread all week long--someone else even made some and brought it into work! So this week, to counterbalance all that savory baked goods, I thought I'd make some thing really decadent and delicious. But healthy, of course, still healthy. When I saw this recipe in the Weight Watcher's 2005 cookbook, I knew I had to make them. There aren't a lot of ingredients, and most of them I have, and there is a HUGE amount of chocolate to everything else.

Ingredients: 

1/2 c light butter
1 oz unsweetened chocolate
1 cup sugar
1/2 c unsweetened cocoa
2 large eggs
1 tsp vanilla extract
1 cup regular oats
1/4 cup all purpose flour
1/2 tsp baking powder
dash salt


Chop the unsweetened chocolate into fine pieces and melt with the butter in the microwave for 30 seconds until the chocolate starts to melt. The butter melted quickly, and I had to stir a while to get the chocolate to melt. There seemed to be a lot of butter--next time I plan on reducing the amount of butter to see if that would work. There aren't a lot of ingredients, and there is as much butter as flour here! Anyways, into that I added the sugar and cocoa and stirred until smooth. I let it cool a little and then added the two eggs after lightly beating them.

I tossed the oats, flour, salt, and baking powder together in a bowl, before folding them into the chocolate mixture just until blended. Then they are dropped onto a greased cooking sheet by heaping teaspoonfuls. These are pretty small cookies, but they are SO chocolatey that you wouldn't want more. They do expand, so don't place them too close together.

They go into a pre-heated 350 degree oven for 8-10 minutes until just done in the middle. One pan was underdone at 8 minutes, the other was just on. They need to stay on the pan for at least 5 minutes so they don't fall apart when you move them--though if you eat them from the pan it probably doesn't matter if it is in pieces.


The Verdict: 

This was a win for me, though my family members liked them quite a bit less (They wont say to my face that they don't like them, but one of them only ate half--I wish people would tell me what they really think, I'm not offended, I'm learning!). I love the chewy, chocolatey, dreamy quality. They are soft and cakey, not crispy, and so rich I don't worry about eating too many at once. They almost taste a little like brownies! I think the quality of the chocolate really matters here, so I may invest in some higher quality chocolate when I make them again.

Wednesday, February 26, 2014

Spaghetti Squash Lasanga

So when I'm not going through my cookbooks to find something to try, and headed to the store to get new ingredients to experiment with, I'm trying to figure out what to do with the foods I have. Sometimes I just try to invent a dish that uses them all, but often a good google search or a search through Skinnytaste's archives can find something to try that will use them all up. Today I had a spaghetti squash that had been rattling around in my fridge since before Christmas, a half container of ricotta that needed to be used before it went off, part of a pepper, and a small bit of mushrooms. Skinnytaste came through again--with a Spaghetti squash lasagna that used only things I had on hand, and was easily modified to use the things I have.

Ingredients:

Spaghetti squash
1 can (15 oz) diced tomatoes in Italian seasoning
1 can tomato paste
half a yellow pepper
4 oz brown mushrooms
small onion
Italian seasoning
lowfat ricotta
part skim Italian cheese mix
1 oz finely grated Parmesan cheese
1 cup frozen chopped spinach
1 head roasted garlic

The first step is to prepare the squash--if you are in a hurry, you can cook this in the microwave, but I like to roast it to get better flavor. Plus I can roast garlic at the same time! So cut the squash in half, take out the seeds, sprinkle with salt, pepper, and Italian Seasonings. I spray both sides with cooking oil and stick them in a preheated oven at 350 for about a half an hour or until fork tender. That gets set aside to cool, and remove from the skin.


 While the squash cools, I cut up an onion, the mushrooms, and peppers and saute them until they start to soften. Then I add the tomato paste and let it cook for a bit with the vegetables. After that I add the tomatoes and some water and let it simmer while I used a fork to pull the squash from the shell. I smashed some of the roasted the garlic and mixed it with the ricotta, and the rest went into the sauce. I added the spinach to the sauce, and let that cook together.


This comes together like a lasagna,  a layer of sauce, a layer of squash, a layer of ricotta, cheese, more squash, and so on. I had more squash than I thought, so made three layers, which is why the top ended up with less cheese. I should have divided it in thirds not half and fourths.

 The original recipe calls for making this in individual casseroles, but I don't have matching sets. Just odd sizes of dishes, so I put this in a 13x9 inch pan. It went into a preheated 350 degree oven covered with foil for 15 minutes and then off for 5 minutes until the cheese was melted through.

   The Verdict:

This is an amazingly hearty dish, the squash has a nice texture contrast to the sauce, and the cheese is creamy and delicious! It was very filling and hit the spot. I hope my coworker grows more spaghetti squash next year so I can make this all fall--who knows I may go buy another squash! I even got my picky eater niece to try some of the squash!


Monday, February 24, 2014

Taking Stock


This cooked, while I babysat!

After my adventures roasting the whole chicken, I had a lot of under cooked meat still on the carcass, so I set out to make stock so that none of it would go to waste. I've used stock and broth and seen at least one episode of a TV show where Alton Brown made stock, but it isn't something I'm familiar with. I perused several blogs, advice forums, and cookbooks, and decided this was something I could do!

Of course, I don't have a stock pot, but I do have a crock pot and a whole day to leave it on! From what I've read, this is more a method than an exact recipe, because what you have doesn't have to be the same each time.


Ingredients:

Chicken carcass, chicken necks, chicken bones with meat still on the bone
2-3 carrots
3 celery stalks
1-2 medium onions
3-4 garlic cloves
bay leaf
pepper corns
salt
vinegar
water

So I put the carcass and neck in the pot. Most of the meat on the drumsticks and wings was still on the bone as it hadn't cooked enough to really dissolve the tendons. The neck was completely uncooked and kind of gross, but it should provide flavor. My crock pot is pretty big, so there was plenty of room.

I roughly chopped the carrots, celery and onion. I did peal the onion, though I've read that leaving the skins on can add flavor and color (I've heard of people dying eggs with a dye made from onion skins) The skin on my onion was dubiously clean, so I skipped that. The garlic went in as whole, pealed cloves.

Besides the aromatics (that is what Martha Stewart told me the onion, celery, and carrots were called), I added a good amount of peppercorns, two bay leaves, and a little salt. I also added a dash of rice wine vinegar--I read that it helps the bones dissolve and release the gelatin, which is supposedly the marker of a correctly made stock.

Babysitting!
All of that was covered with cold water to the top of the pot. I put the lid on and put it on high for an hour and then switched it to low and let it cook for over 12 hours. Every couple of hours I scooped off some of the fat and scum from the top, but besides that I mostly let it go from 8 am when I put it in and when I took it out at 11:30 pm after coming back from babysitting. The rib bones had all softened and broken and the stock was a rich color and flavor. 

I strained the broth through a fine mesh strainer and then strained again through a cloth and strainer to get rid of the impurities. It then went into the fridge to cool. I did save the meat for the puppies--it had given up all its flavor and tasted like sawdust, but my dogs still love it! The fat should rise to the top to be scraped off and the rest can be frozen or used in soups. I'm planning on using it to make a cauliflower soup!

Friday, February 21, 2014

Don't be Such a Chicken

The other day I ran out of Diet Coke, it was terrible! So on my way to water aerobics I stopped by the store to pick some up. In my caffeine-deprived, early morning fog, wearing ratty workout clothes over my swimsuit, I was approached by every single member of the store's management to say hi and chat--it was surreal. Anyway, as I searched blindly for the soda, I stumbled across a cooler full of whole chickens, for 99cents a pound. This has nothing to do with soda or swimming, but it seemed like a good deal, so I bought one. I've never cooked a whole chicken, nor even been around someone else cooking one--if you don't count the rotisserie at the grocery store. I did find the soda and get to aerobics, and now I'm trying to figure out this whole chicken thing!

Many of my cookbooks have recipes for roasted chicken, so many recipes it is overwhelming. Also they aren't that similar--different cooking times and temperatures, different preparations, and as many flavor profiles as one could expect. So of course, with too many to choose from I'm getting a little from one and a little from another. Mostly I'm following a recipe I found in a new cookbook I was putting away at the library, and found again online. It is a Coriander and Orange Chicken from Michael Symon. I watch him on the Chew and other food network shows, and so I can practically hear him read the directions. I may not be following them so well, but the flavors and technique are inspired by this.
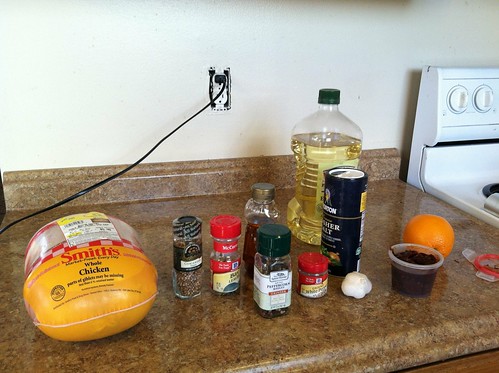
UntitledMarinate Ingredients:
2 tbs Coriander Seeds2
 Garlic clove
1 chipotle in adobo
1 Orange (zest and juice)
1 tsp Olive Oil
1 tbs Honey
1 whole Chicken
1 bay leaf
Salt and Pepper
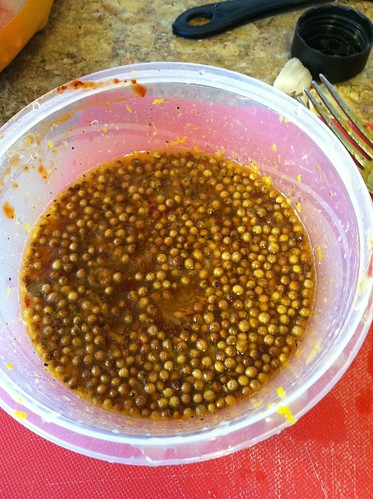
UntitledSo the day before I planned on cooking this, I got out the chicken and got marinating. I love the idea of adding flavor, but I worry about the fact I can't taste it until after it has finished cooking. I zested the orange, grated the garlic, juiced the orange, minced the chipolte, and added the oil in with a good helping of salt and a fair amount of ground pepper. I put the coriander and the bay leaf in a frying pan and put it on medium heat, tossing frequently so they don't burn. When they were nice and fragrant, I added them to the rest of the marinade.
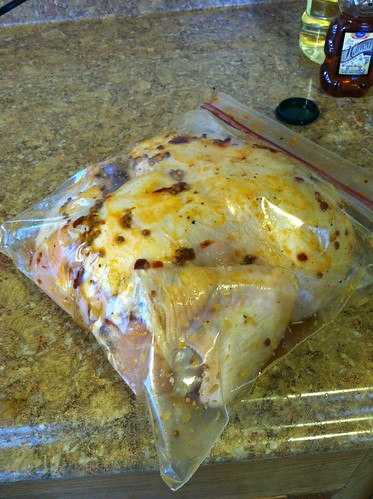
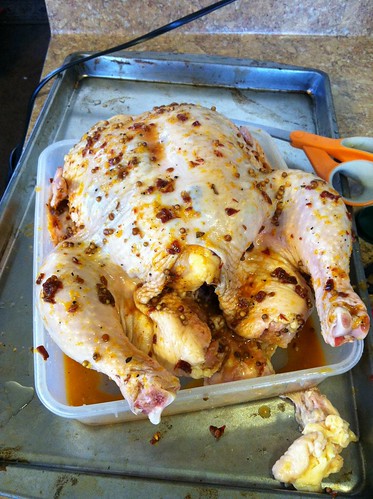
UntitledUntitledThat done, I braced myself to tackle the chicken. It was not so bad--it only had a chicken neck inside, instead of all the gizzards I was expecting. I loosened some of the skin to get the seeds, garlic and zest up against the flesh. Then rubbed the whole bird, front, back, and inside with the liquid and placed the whole thing in a plastic bag where I can easily turn and rub the marinade into the bird. The whole thing went into the fridge, to be turned frequently, so the flavor can really get worked in.

Remaining Ingredients

4 medium Carrots
4 medium Parsnips
Small head of Cauliflower
2 yellow onions
Orange
garlic
leftover marinade
marinated chicken 
oil spray


So I peeled and chopped the carrots, parsnips, onions, and garlic into pretty big chunks and tossed them with leftover marinade and put them in the bottom of my dutch oven. I put the chicken on top and put it in an oven heated to 425.
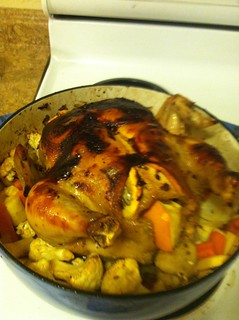


Food
Done on Top
Food
Not done on bottom
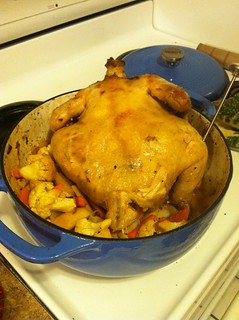
The recipe says for 45 minutes, but after half of that time the top was very dark. I turned the temp down to 375 and let it cook for an hour. It wasn't ready so I let it cook for another half hour and the thermometer said 165, on the breast so I took it out to rest. Well it wasn't done, so it went back in for another hour. After that it still wasn't done, but I was ready to eat the dog, so I cut off a slice and microwaved it with the veggies until it was good and done.
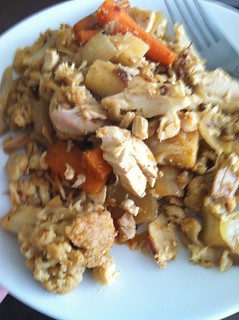
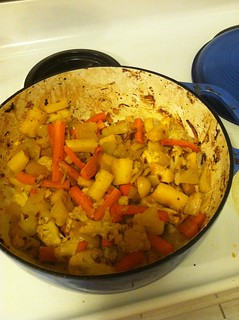
FoodFood
The Verdict:
This was a disappointment in that the chicken never cooked through-- though I was able to use all the chicken by taking it off the bird and cooking again. The actual meat was quite flavorful, though it was a little over cooked by the time I ate the last in a taco with a whole bunch of veggies. The veggies that cooked under the bird were lovely and tender and so flavorful with all that fat and marinade! The best thing on the whole dish was the veggies, and I've finally had a parsnip that was really worth eating. I will tackle the whole chicken again, and I will overcome! My plan next is to cook a whole chicken in a crock pot--it wont get crispy skin, but it should cook through!

Wednesday, February 19, 2014

Cornbread Muffin Cook-off: America's Test Kitchen

For my second cornbread attempt I went to the south, and the Best Light Recipe cookbook from the America's Test kitchen. Unlike the last recipe I tried from this book--the incredibly complicated and time consuming tomato soup--this was pretty simple and didn't require a lot of complicated steps or ingredients. I did add some things not in the recipe--following the directions from the Joy of Cooking for add ins.

Cornbread muffinsIngredients:
cooking spray
1 cup yellow cornmeal
1/2 tsp stevia baking blend
1/2 tsp salt
1 tsp baking powder
1/4 tsp baking soda
1/3 cup boiling water
3/4 c half and half (the recipe called for buttermilk, but this is what I had)
1 large egg
1 tbs butter (I used light butter)
Add ins:
two chipoltes in adobo, seeded and rinsed
3 cloves roasted garlic
1/3 cup shredded sharp cheddar cheese

Preheat the oven to 450 degrees, moving the rack down to the lower middle position. Spray the muffin tin with cooking spray (the recipe is actually for a round or square cake, I decided to do muffins--the corn muffin recipe in the book is a different animal altogether--it calls for a whole cup of sugar!)

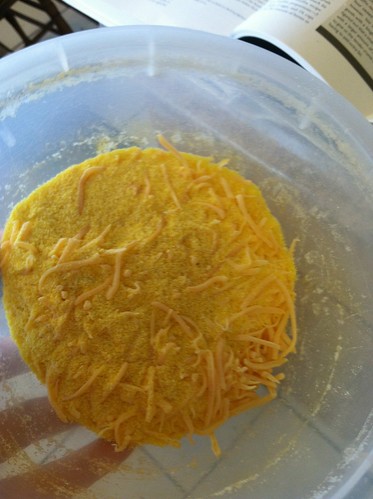
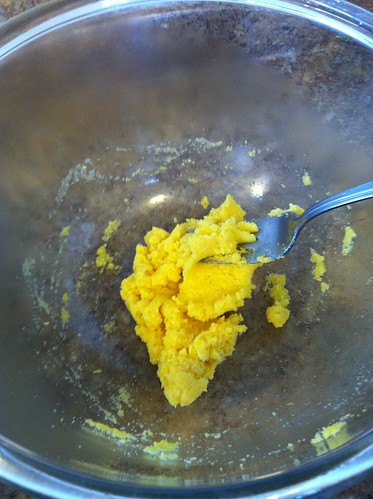
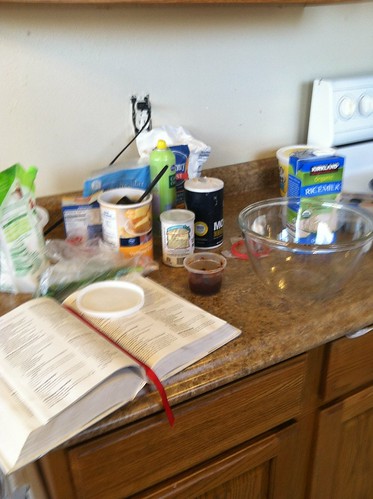
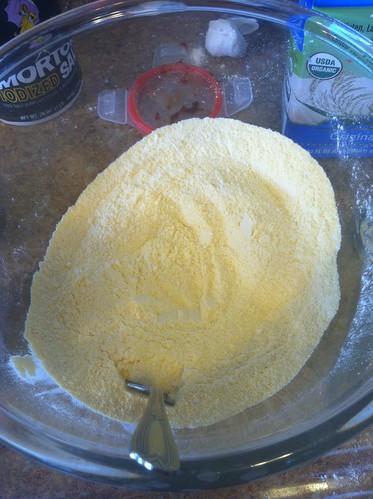
Cornbread muffinsCornbread muffinsPut 1/3 of a cup of cornmeal in a medium bowl, while the water boils. The book suggests boiling quite a bit of water and measuring out 1/3 when it is at a hard boil. I just put it in the microwave, since I don't have a kettle and don't want to get burned. The rest of the cornmeal goes into a smaller bowl with the salt, sugar, baking powder, baking soda, and the cheese. Once the water is at a high boil it goes directly into the 1/3 cup cornmeal to make a thick mush. After the water was added, I melted the butter in the microwave in the same dish.
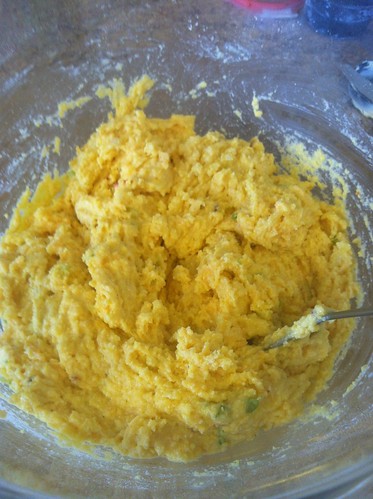
Cornbread muffinsCornbread muffinsThe next step is to gradually whisk in the half-n-half or buttermilk, breaking up the lumps until smooth. I then added my add ins, and a lightly beat egg and the butter. Then the dry ingredients are quickly stirred in, being careful not to over beat. This is a much softer batter than the other cornbread, and can be poured into the pre-greased pan. At this point, even before cooking, the batter has an enticing scent from the garlic and peppers, and the adobo colored the batter a lovely rosy color.
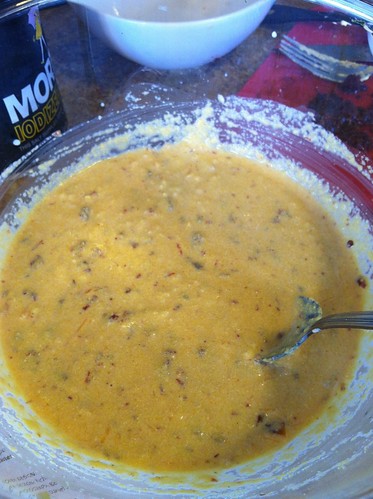
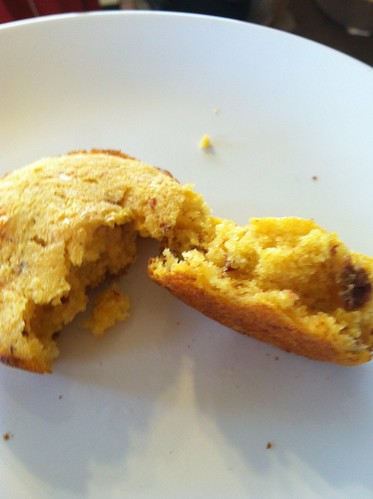
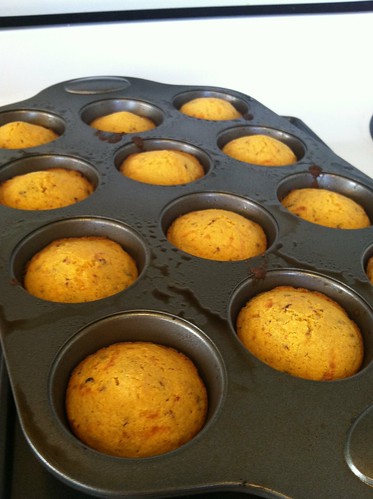
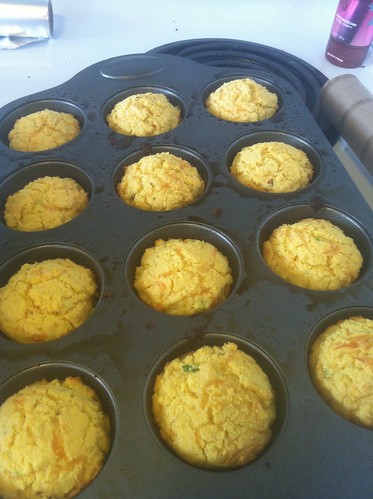
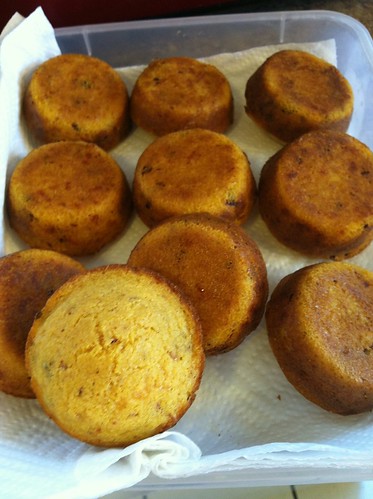
Cornbread muffinsCornbread muffinsThe pan goes into the pre-heated oven for about 12-15 minutes, or until golden brown. These didn't rise as much as the other muffins, but they developed the most delicious crust. The book does suggest flipping it out to cool on a rack--which I haven't purchased, so I put them on a cloth. Of course, I had to eat one steaming hot out of the oven.


Cornbread muffinsThe Verdict:
So good--very flavorful, with the right balance of crispy corn outside, to soft inside. This has more of a cornbread feel to me, less of a muffin, and more of a delicious smokey corn goodness. I could eat these plain, with chili, warm, hot, cold, or nine days old. They are quite spicy, which I love, and need nothing to accompany them. Both of my cornbread muffins are good, but this is the one I'm likely to come back to to try again. Maybe I'm just a southern cornbread girl, though I'm not from the south!

Monday, February 17, 2014

Cornbread Muffin Cookoff--The Joy of Experimentation

So half of the folks at work have sworn off sugar, and since we have a small staff this leaves me and three or four other people to eat any goodies I bring in! So for the birthday of one of these sugar avoiding coworkers, I have made cornbread muffins. It was such a quick process that I decided to make a second batch following a different recipe, so I could see which were better.

Cornbread recipes are a dime a dozen, so I am consulting two of my most authoritative cookbooks, The Joy of Cooking  and The Best Light Recipes, from the American Test kitchen, the ones with the most information about the recipes and guidelines about how to create it right. The first I'm blogging about is The Joy of Cooking, which offers a list of ways to modify the basic recipe with different additions. One thing I've learned from reading these two recipes is that cornbread is very regional, with two main camps the southern cornbread (which is just cornmeal and no flour, and traditionally is made in a cast iron skillet) and the northern cornbread, which has flour and cornmeal. I'm making one of each kind--so they may not compare directly across.

Cornbread muffinsIngredients:
1 1/4 c yellow cornmeal
3/4 c all-purpose flour
2 1/2 tsp baking powder
1 tsp stevia cooking blend
3/4 tsp salt
1 large egg
2 tbs butter
1 cup milk
Add ins:
1/2 c grated sharp cheddar cheese
2 green onions
2 cloves of garlic grated
1 tsp chipotle seeded, rinsed and chopped fine.

Cornbread muffinsCornbread muffinsPre-heat the oven to 425 degrees, and spray the muffin tin with cooking spray. Melt the butter in the microwave and set aside to cool. Whisk together the dry ingredients and the cheese in a large bowl. In a smaller bowl mix the egg, milk, butter and wet add ins. In this case, I used onions, garlic, and chipolte, and a good crack of black pepper. The book has a long list of different things that might be added to change the flavor profile, and actually suggests a much larger amount of chipolte, but I'm not sure how spicy my coworkers like things!

Cornbread muffinsCornbread muffinsThe wet ingredients are combined with the dry ingredients just barely--the book says with just a few rapid strokes. This is a thick and chunky batter, and needs to be scooped into the dish rather than poured. Smooth over the tops, because it doesn't spread and will come out the way it goes in!

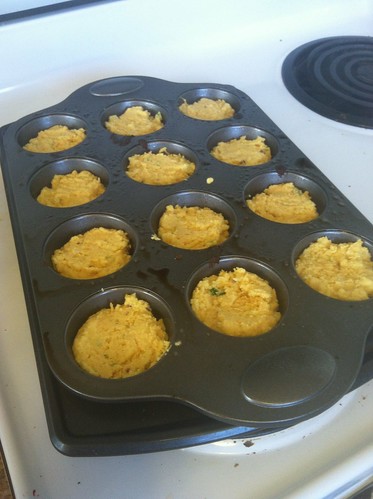
Cornbread muffinsCornbread muffins They bake in the 425 degree oven for 15-18 minutes or until nicely browned--though I found the tops were less browned than the bottoms.

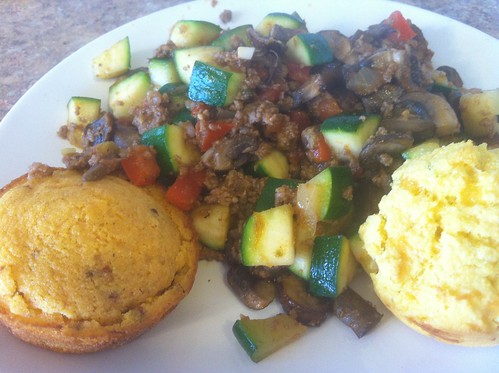
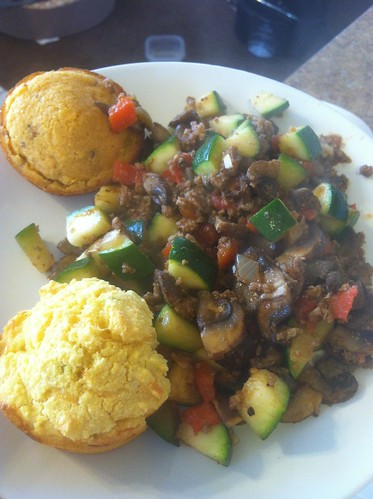
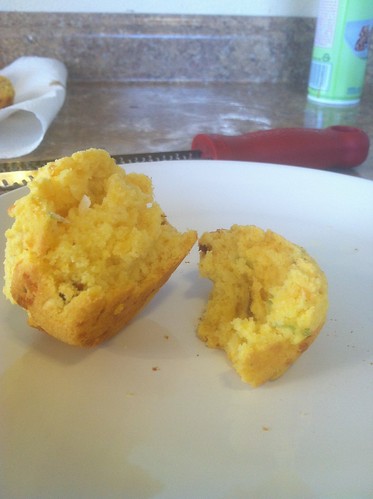
 The Verdict: There is a nice crunch on the outside, with a creamy soft inside. The flavors are not overpowering the sweetness of the corn, and there is a definite muffin consistency to them. You can taste the flour in a surprising way. They are good by themselves, but are best with butter or with a main dish. I ate mine hot out of the oven with a hash made up of leftover picadillio, zucchini, mushrooms, and roasted red pepper.